
And now, without further adieu, here is our recipe for building a gate:
Pull out existing post (which was just waiting for a gate) that won't be strong enough to hold the big gate. Cut from cement stump.

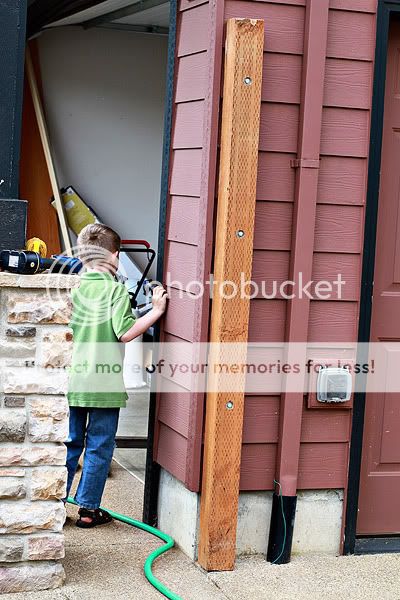
Bolt to side of house for the "man" gate.
Buy a 10 foot 4x4 steel post.

Dig the existing post hole much deeper for the steel post. Put Avery inside (by his request) to gauge depth.

The weirdo likes it.

Now measure for real. (Notice the layers? Travis said one of them really stunk.)

Dig until you reach 4 feet. (10 foot post - 6 foot fence = easy math)

Put Avery back in.

The fence behind him is a 6 foot fence and look how tall Avery is next to it. I can't imagine standing in a skinny hole like that, that deep.

Pour some concrete in your hole and allow to set up so your ultra heavy 10 foot post doesn't settle into the dirt.

Buy 20 foot steel tubing to manufacture the gate frames. 2x2's for the outer frame and a 1.5x1.5 for some cross bars.

Cut cut cut.

Don't forget protective gear.

Grind grind grind.

Weld weld weld.

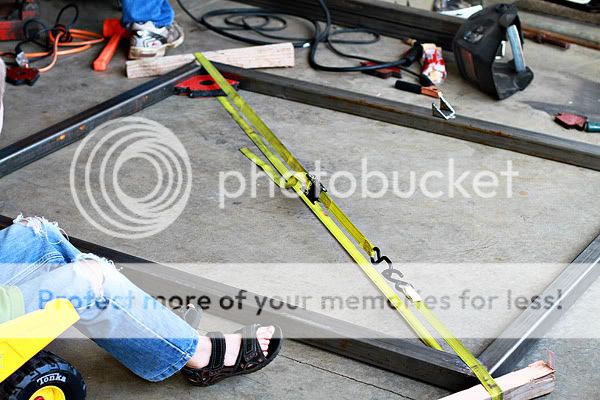
The heat of the weld can make the metal move so after tack welding it in place, make sure you're square again before doing the finish welding. And then square again.
Time to cut a cross piece.

More grinding.

Again, measure for square along the way.

Repeat steps for cutting, grinding, welding and squaring etc. for the large gate.
Prime and paint the steel post and 11 bags of concrete later your post is up. Be sure to level it with the other post and make sure it is plumb.

Brush your finish concrete all purty.

Prime and paint the hinges on a sawhorse, let them dry, then hang them for the rest.

Prime.

Paint.

Drill a hole in the concrete for the cane bolt you attach to the large gate.

Clamp 2x2 pressure treated lumber to the gate top and bottom for something to screw the slats into.

Attach with self-tapping screws.

Meanwhile, have Avery (who had been dying to help) load up all the slats to bring out.

And laugh when you peek in and catch him doing a groaning stretch.

When he's done, he won't be heavy enough to pull the hand cart back.

"Little help please?"

Good job, Avery.

"Whew!"

Set up a level board (the concrete isn't level, but you want your slats to be) to rest the slats on while attaching them. When Travis put board #2 up, I asked about them being spaced a bit for expansion, and he said he was just considering how to do it...

I hand him a shim. Glad I could contribute.

Cut a notch out to wrap around the latch mechanism.


Sand it.

Make sure the corners are just right.

And now a word on the hardware. Here's the latch. It allows the gates to be opened and closed from either side and to swing either way.

These two types of hinges allow the gates to swing either way. The left one is for the big gate and the bolt allows us to adjust the gate to make sure it's level. We had it level before putting the slats on, but the weight of the slats made is sag a touch which affected the latch. A little bolt tightening and we're level again.

The view from the inside.

The final screw goes in and we have a gate!

The wood is supposed to weather a while, but then a sealer will be applied so it doesn't end up gray like the fence which was never sealed. We will be applying a stain and sealer to the fence at that time too.
And there you have it, a recipe for building a gate.


 I met Travis in Institute at Oregon State University in 2001 and we were married Aug 2002. We have 3 boys, Avery, Carson and Emmett. I love photography and run a business,
  Travis is a dentist at
  Avery was born in Dec 2004 and is now 7 and almost a 2st grader. He loves being a big brother to Carson and Emmett.
 Carson was born in March of 2007 and is now 5 years old.
 Emmett was born in September of 2008 and is now almost 4 years old.


6 comments:
Holy cow, that seemed impossible to me! Impressive!
That is so much work! It looks great. I hope you know, now that you've revealed all your husband's skills, I'm sending Grant to him if we ever need help.
Grind, grind, grind.....just some dental skills at work.
Should have put the boys hand prints in the wet cement.
Nice, nice job Travis. I'm going to let you rebuild our gate. Looks like the latch can have a padlock on it. Your neighborhood must love the new neighbors. Watch out for monkeys swinging on the man gate...or on the big one in a couple of years!
It looks beautiful! Travis is a handy husband, eh!?
very nice, beautiful!
Thanks for sharing,
Custom Gates|Wrought Iron Gates
Avery is hilarious in this post!
Post a Comment